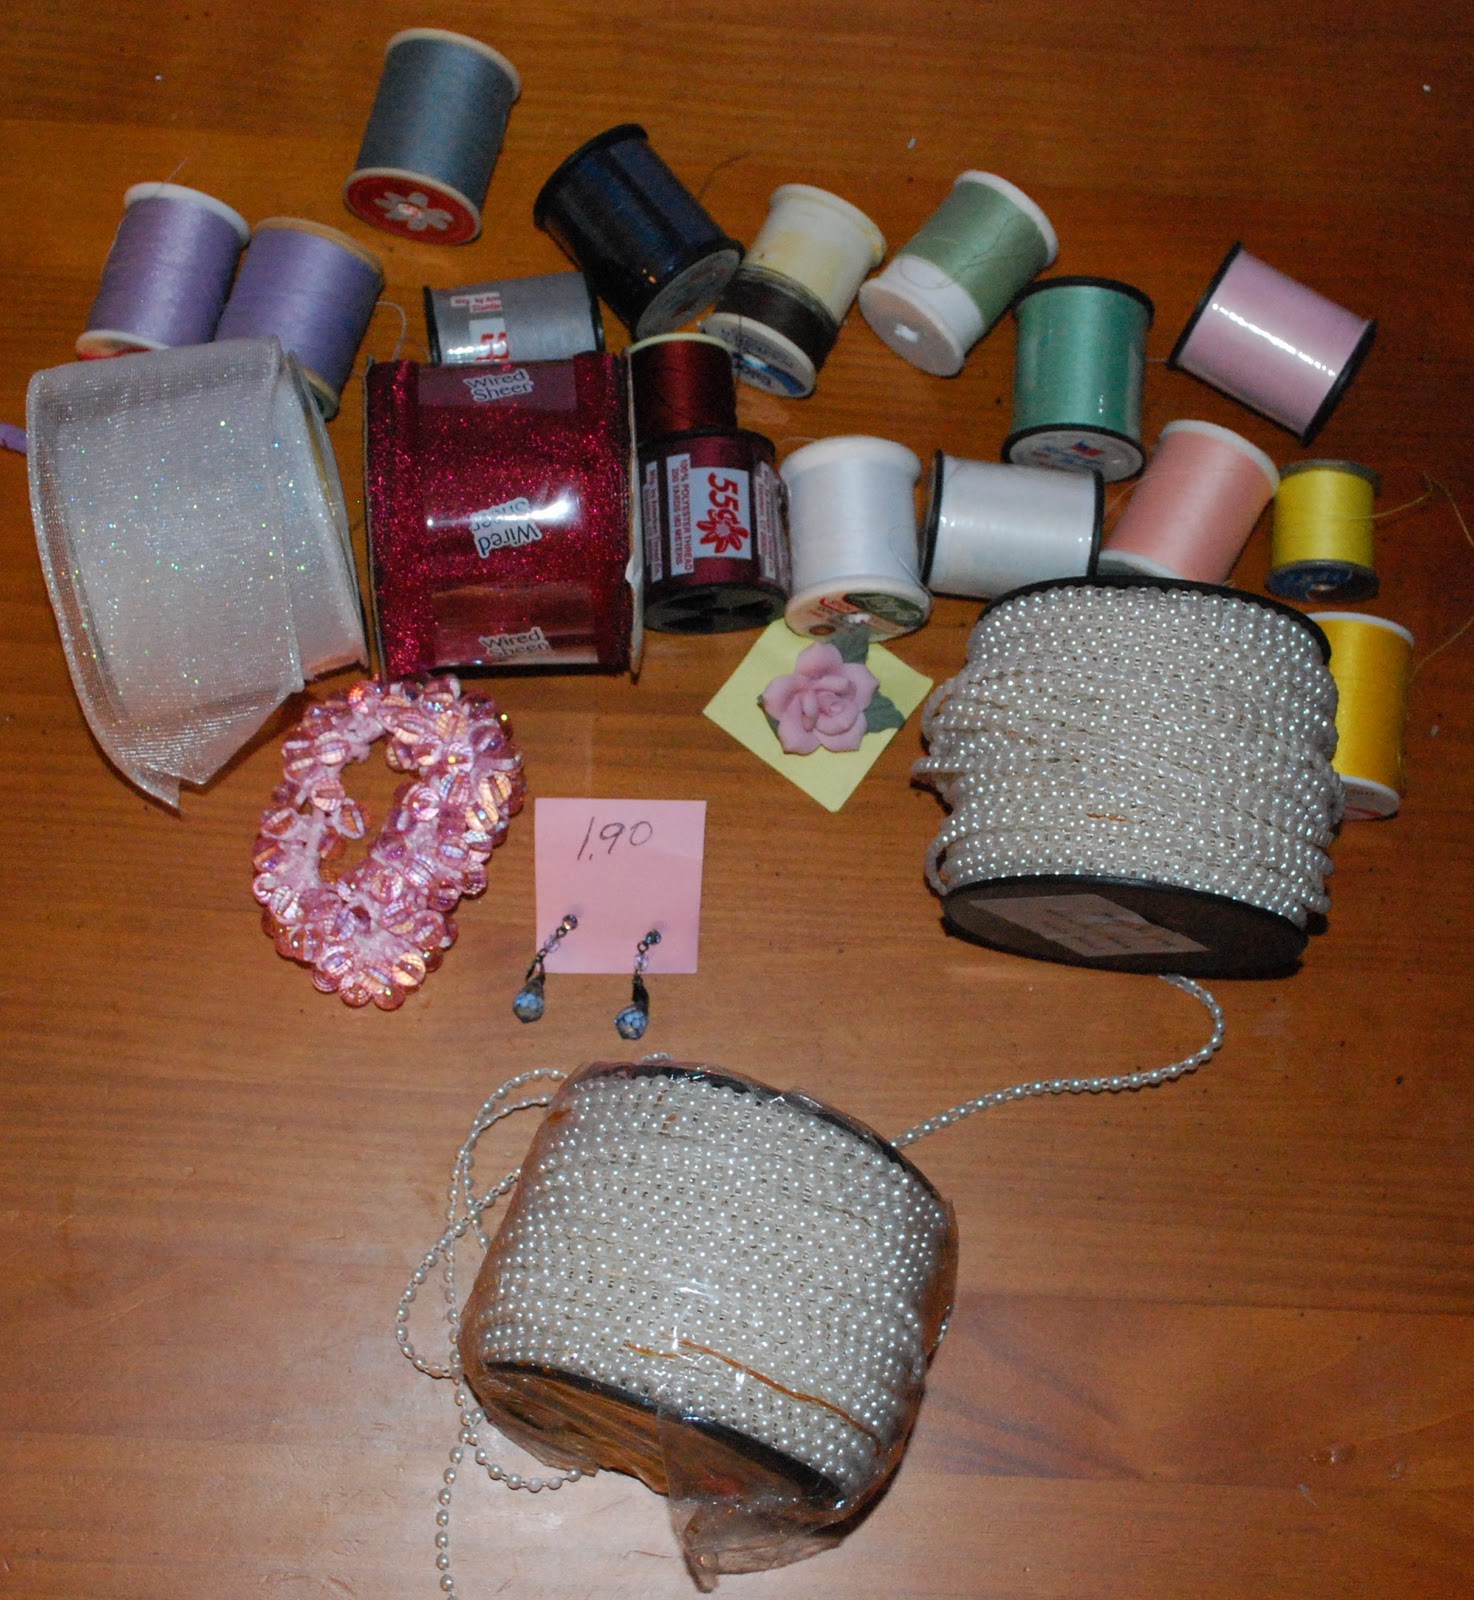
I love a good thrift store hunt! I was actually looking for buttons, my supply is running a bit low. As always I found many cool items, just not the buttons I was looking for. I spent a total of $10.53.
I saw the rose pendant and thought what a cool ring this would make! SO... here we go!
First you will need the following:

Rhinestone Picker-Upper- I do not know what the official name of it is.
Pin/Pendant- I choose the rose, but any decorative pin will do. It is your choice, you have the power! Enjoy the power! I know I do!
Adjustable Ring with platform- I choose the thicker band because I think it adds a little bit of elegance.
Jewelry Cutter- Again, not sure what the proper name is.
Rhinestones- I am using clear, plain ones. Again, you are going to wear the ring, so pick the color that looks good on your ring. Or, you can totally skip this part. Your pendant may already be perfect enough.
All of the items, except the pendant, I bought at Michaels and can be found at any craft store.
First: Remove the Backing of Your Pendant:


After taking the picture I notice one of the leaves was broken, so go ahead and use your cutters to remove it too.
Second: Glue the pendant onto the ring.

Last: Time to glue the rhinestones to the pendant:

 |
| Sometimes less is more |
 |
| I wore this to work today and got tons of compliments. |
I don't know about you, but I hate it when Zombies cross those personal boundary lines. Very awkward for all parties,
All done! That was simple and super cheap! If I turn any more pendants into rings, I will post pictures in my other DIYs.
Have fun! Remember: Be creative, Be Imaginative and Make it your own!


1 comment:
That's not a pendant, it's a brooch!
Post a Comment